Rain gardens are more than just an attractive feature for your yard. They are an ingenious, natural solution to water pollution. By filtering stormwater runoff, they protect our rivers and groundwater from pollutants like pesticides and fertilizers. This guide will walk you through how to create your own rain garden, from site selection to maintenance.
Why build a rain garden?
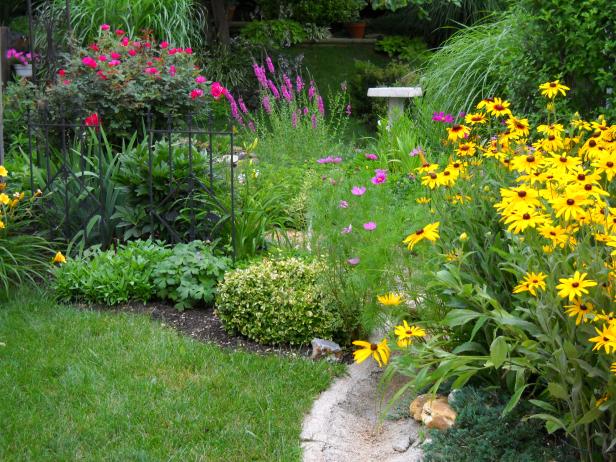
A rain garden is a beautiful and functional addition to any yard. It’s a garden designed specifically to absorb rainwater, primarily from your roof but also from other hard surfaces like driveways. This reduces the amount of polluted runoff entering our waterways.
Rain gardens are also a haven for local wildlife. The native plants attract birds, butterflies, and beneficial insects. Additionally, by choosing native plants, you’ll be promoting local biodiversity and creating a healthier ecosystem.
How to build a rain garden
Step 1: Choose the Right Site
The first step in building a rain garden is to select the right site. It should be at least 10 feet away from your home to avoid moisture problems. The best location would be a naturally low spot in your yard or somewhere down-slope from your house. The area should receive runoff from your roof or driveway and have full or partial sun exposure. Avoid areas near septic tanks, utilities, and tree roots.
Step 2: Test and Prepare Your Soil
Rain gardens require well-draining soil. To test your soil, dig a hole about one foot deep, fill it with water, and see how long it takes to drain. If the water drains within 24 hours, the soil is suitable for a rain garden. If not, you may need to amend the soil with compost or sand to improve its drainage capabilities.
Once you’ve determined that your site has good drainage, you can excavate the area. You’ll want to dig about 6 to 8 inches deep, depending on your soil type. Keep the removed soil nearby; you’ll use it later to build a berm.
Step 3: Design Your Rain Garden
Rain gardens are typically oval or kidney-shaped, but the design is up to you. Remember, the garden should be roughly 20% the size of the drainage area.
After digging, use the soil you set aside to form a berm around the downhill edge of your garden. This berm will help contain the water and allow it to slowly infiltrate into the ground.
Step 4: Select and Plant Your Flora
Choosing the right plants is crucial. Native plants are best because they’re adapted to local climate conditions and require less maintenance. They also provide habitat for local wildlife.
The plants you choose should be able to tolerate both heavy rains and dry periods. Plant the most water-tolerant plants in the center, where the garden is deepest. As you work your way out towards the edges, choose plants that prefer drier conditions.
Step 5: Install a Drainage System
To direct water into your garden, you can redirect your downspouts or install a rain chain. If your garden is far from your house, you might need to dig a shallow, sloping trench lined with river rock or gravel to convey the water.
Step 6: Mulch and Water
After planting, add a layer of mulch to conserve moisture, suppress weeds, and regulate soil temperature. Be sure to water the garden thoroughly after planting.
Step 7: Maintain Your Rain Garden
Maintenance involves watering during dry spells, removing dead plants, and controlling weeds. With the right plant selection, your rain garden should become a low-maintenance addition to your yard over time.
Customizing Your Rain Garden
Your local climate and soil type will dictate many of your choices when it comes to designing your rain garden. For example, if your soil drains quickly, you can make your garden deeper. Slow-draining soil may require a shallower garden.
Climate will affect your plant choices. In arid regions, succulents and other drought-tolerant plants are a good choice. In wetter climates, ferns and sedges might be more appropriate. Remember, a rain garden is more than just a pretty feature for your yard. It’s a tool for environmental conservation. By building a rain garden, you’re doing your part to protect our waterways and support local biodiversity.
Final Thought
Embarking on the journey to construct a rain garden is a remarkable step towards enhancing your property’s aesthetics while contributing positively to the environment. A well-designed rain garden not only adds charm and worth to your property, but also serves a functional purpose.
With some thoughtful planning and a bit of elbow grease, you can bring to life a lovely rain garden that offers benefits for both your property and the wider environment. So, why wait? Start devising your plan and create your very own rain garden now!